前回は「地下スラブ配筋工事〜整然と組まれる鉄筋・基礎梁と地中スラブが一体となって建物を支えるイメージ〜」の話でした。

地階の配筋工事:自然の光と風が必要な「居室」と地下
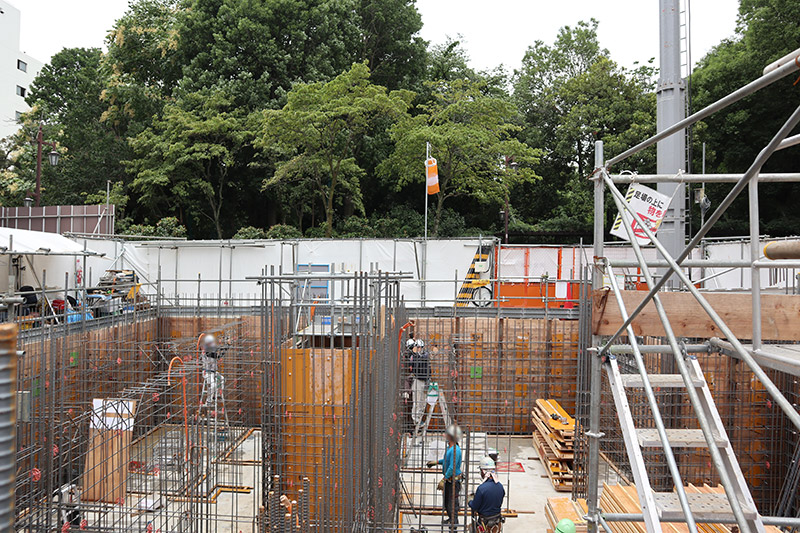
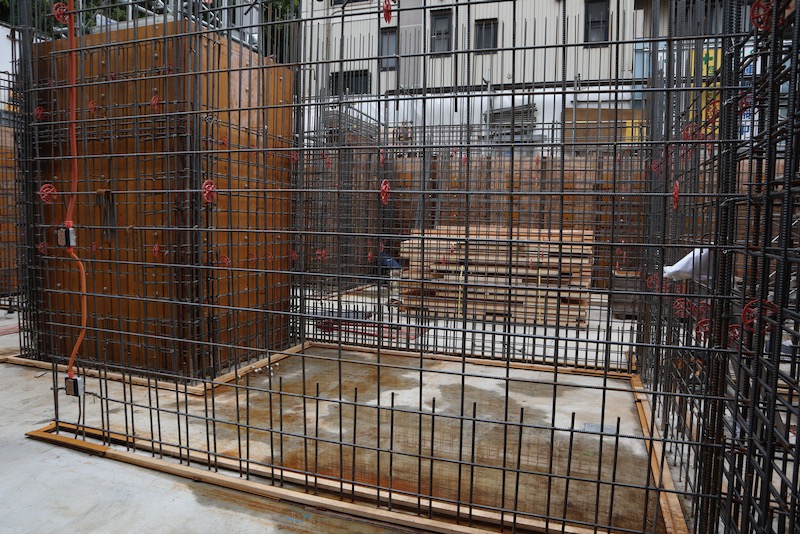
地中梁・地下スラブの配筋とコンクリート打設が完了し、地下一階の配筋に進みます。
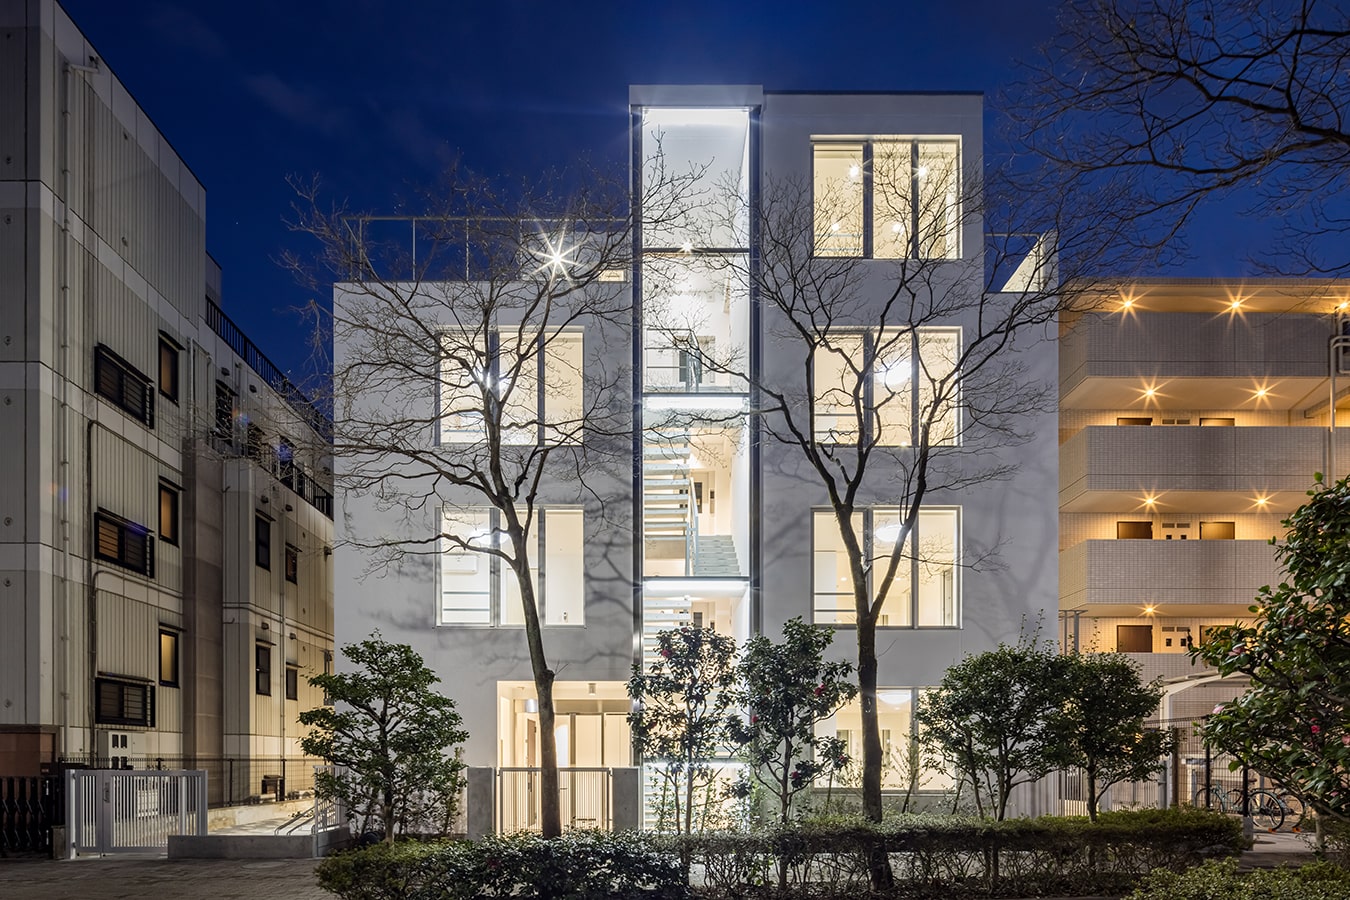
多くの集合住宅の場合は、地上一階から上がエントランス・住まいとなります。
そのため、地下は設備配管のためのピットなどがあるのみであることが多いです。
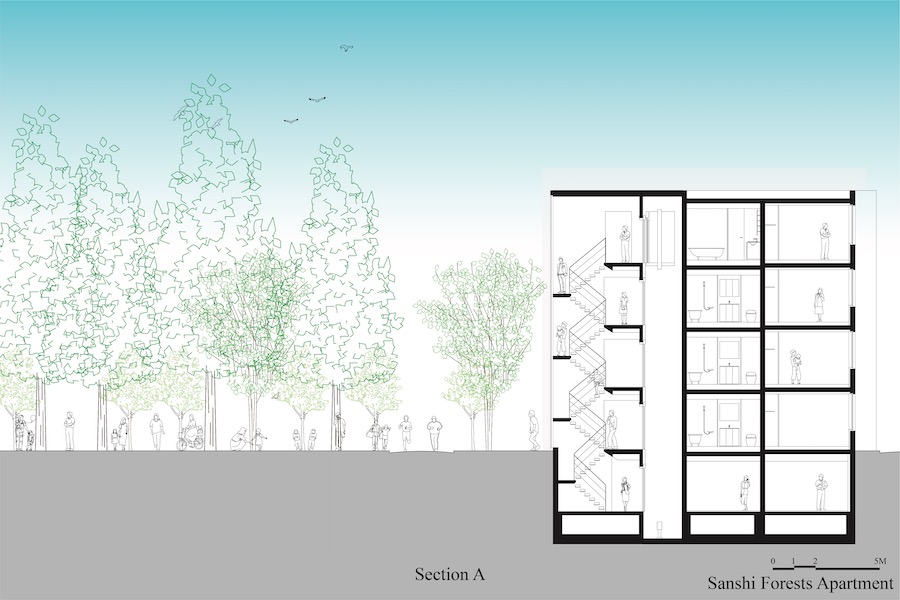
蚕糸の森アパートメントは、地下の有効活用を試みており、地階にも部屋があります。
「住む」ためには、光と空気が必要であり、建築基準法でも「居室の定め」があります。
地階に住まいを配置する場合は、ドライエリアなどを設けて、地下にも光と風が届くようにします。
今回は「居室ではなく、一時的に滞在する部屋」という規定で作りました。
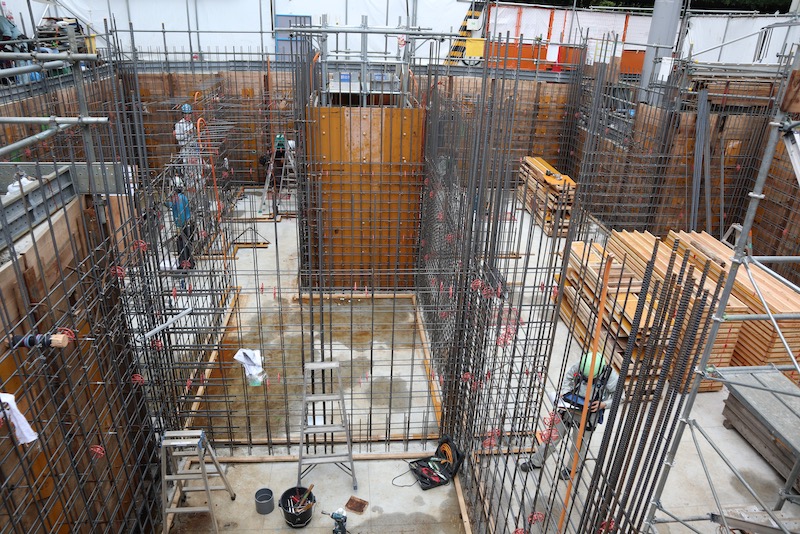
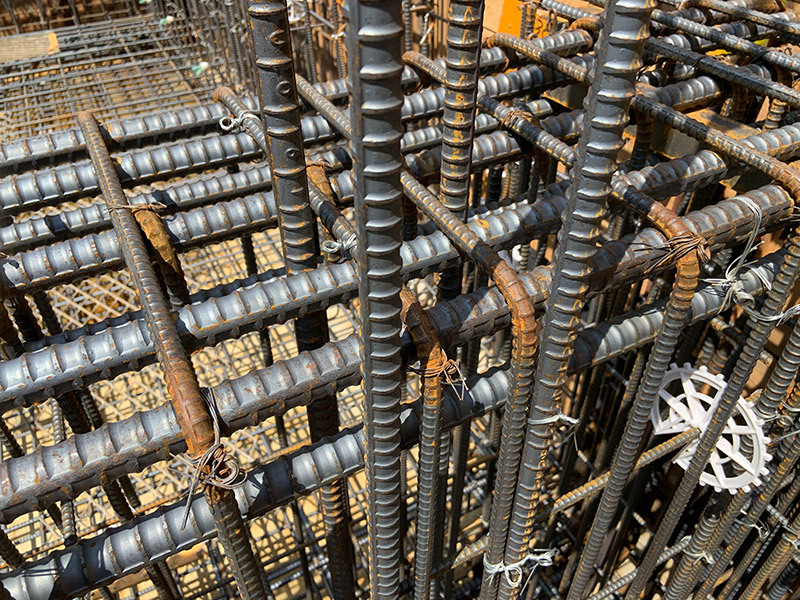
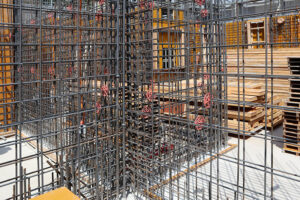
壁式鉄筋コンクリート造の構造なので、柱がなくスッキリしています。
スッキリしているのは良いですが、壁と壁が交差するところなどは、鉄筋が混み合います。
 Yoshitaka Uchino
構造図をもとに
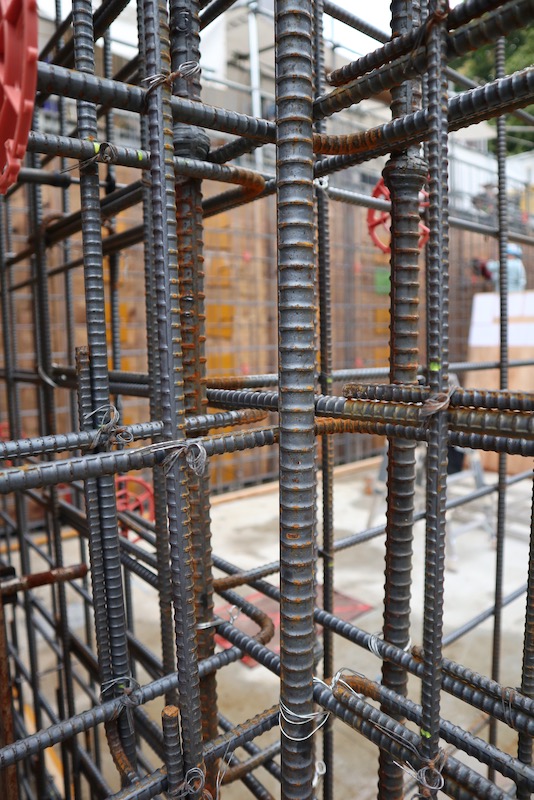
職人さんたちが、一本一本配筋します。
工場で加工された鉄筋が現場に入り、職人さんたちが鉄筋を組み上げます。
鉄筋同士は「結束線」という専用の細い針金で固定して、しっかり留めてゆきます。
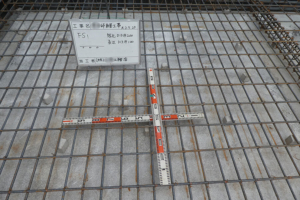
地下1階の配筋検査:ビシッと整然と並んだ鉄筋たち
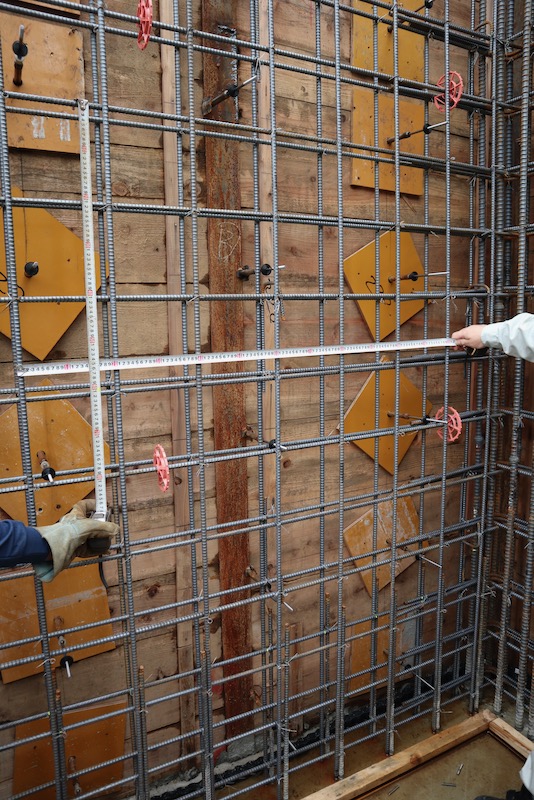
いよいよ配筋が終了したので、配筋検査に入りました。
この現場のゼネコンは鉄筋コンクリート造に定評がある、非常に技術力が高い会社でした。
 現場監督A
現場監督Aはいっ!
ここは200mmピッチですね!
現場監督Aメジャー当てるので、
確認してください。
縦横に並んでいる鉄筋は、構造図通りのピッチでビシッと整然と並んでいるのがわかります。
配筋検査では、構造設計者の方にも立ち会っていただき、チェックしてもらいます。
私たち意匠設計者も「大体のこと」は分かりますが、専門的なことは構造設計者に全てお任せです。
Yoshitaka Uchino構造設計者が鋭い視線で
様々な指摘をします。

木造戸建住宅の配筋検査ならば、私たち意匠設計者のみで対応可能です。
豊島の家の配筋検査の話は、上記リンクでご紹介しています。
木造戸建と異なり、大規模な鉄筋コンクリート造の建物の場合は、
 構造設計者
構造設計者この鉄筋の
定着長さが少し不足しています・・・
構造設計者この長さまでにするように
是正工事してください。
現場監督A分かりました。
是正して、後で写真を送ります。
構造設計者から、様々な「是正工事の指摘」があり、それらの内容がまとめられます。
そして、その後、是正工事と報告書が施工会社から提出されます。
構造設計者この内容で
OKです!
構造設計者が、その報告書の内容を細かくチェックして、工事が進んでゆきます。
このように、様々な設計者や施工者がチームとなって、工事は進んでゆきます。
竣工写真は、下記サイトをご覧下さい。
次回は上記リンクです。
